Import JetEngine data from CSV / XML file to WordPress
Import WP’s JetEngine add-on allows you to easily Import JetEngine data in WordPress, allowing you to import both CSV or XML files to JetEngine’s custom fields from basic text fields to Media and Relationships fields. JetEngine by Crocoblock is a dynamic content plugin for WordPress that allows you to quickly create custom fields for custom post types, taxonomies and custom content types.
JetEngine by default has data structures available either WordPress post types, taxonomies and users, or Custom content types which can be enabled to store data in custom tables.
Table of Contents
Import JetEngine data into Custom Post Type, Taxonomy and User fields
JetEngine custom fields can be added to core WordPress content types such as posts, pages and users via “JetEngine > Meta Boxes”, or added onto custom post types and taxonomies when created via the “JetEngine > Post Types” or ”JetEngine > Taxonomies“.
No matter what method you have used when adding custom fields, the method is the same.
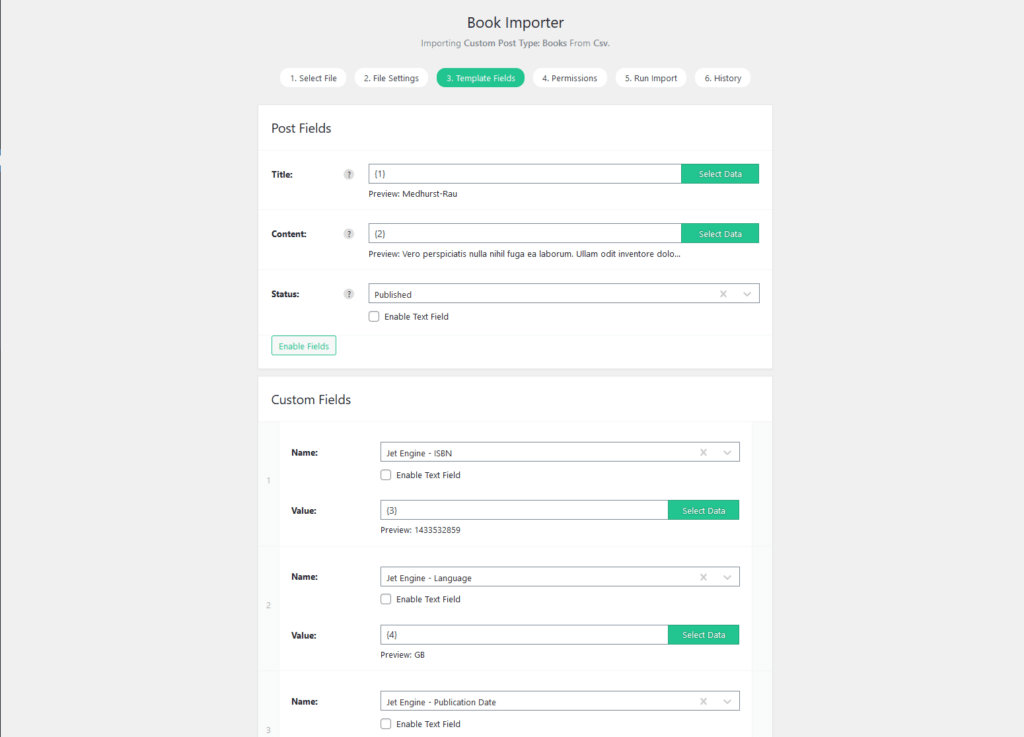
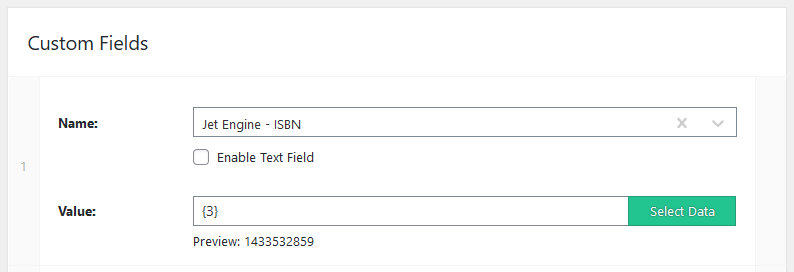
Jet Engine fields are imported via the Custom Fields section of the importer, if JetEngine fields have been added to the currently imported post type, term or user then the custom field dropdown should be populated with all available fields prefixed with “Jet Engine – “, once a field has been selected the fields will change depending on the selected type.
Import data into JetEngine Custom Content Type fields
Jet Engine custom content types allow you to create custom database tables containing any number of custom fields, custom content types module needs to be enabled before the custom content types section is available via “JetEngine > Custom content types”.
When creating the importer, choose “JetEngine Content Type” under the “What are you wanting to import?” field, and selecting the content type from the “Content Type” dropdown.

When selecting template fields, there should be a single section containing all the fields of the “Custom Content Type”.
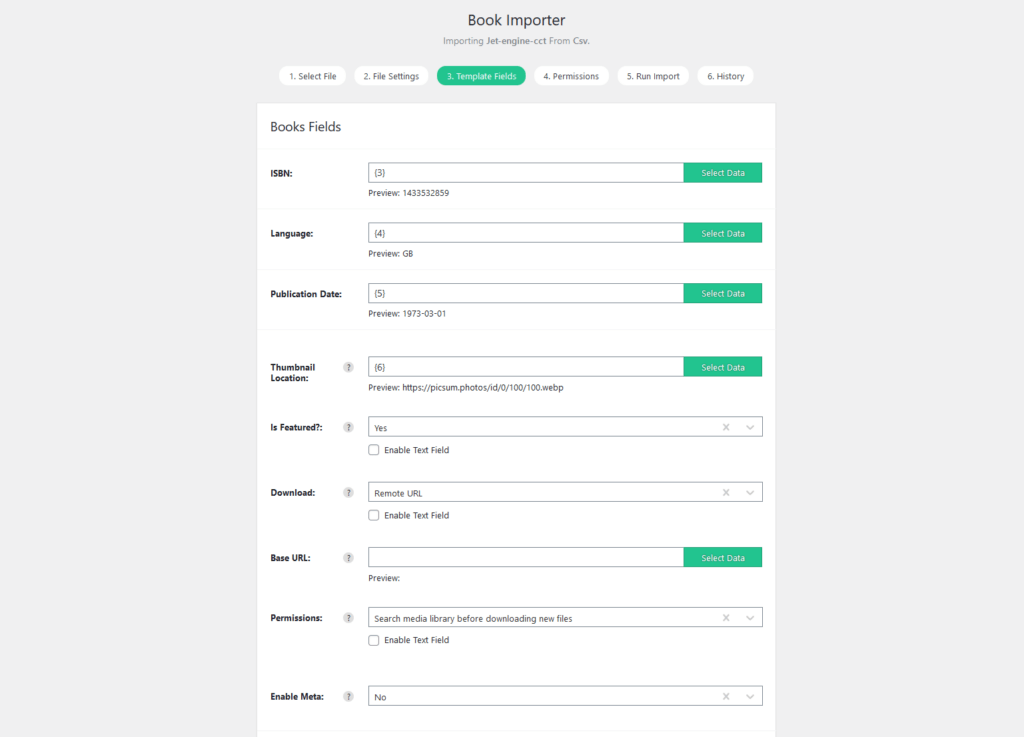
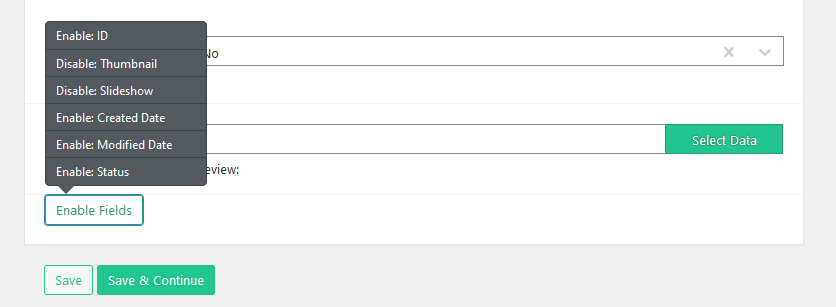
If there are any missing fields these can be enabled via the “Enable fields” button displayed at the bottom of the section, clicking the button will reveal a list of all hidden fields.
Import content into JetEngine fields
Importing data into JetEngine fields can be as simple as locating / enabling the field by name, or selecting fields prefixed with JetEngine from the custom field dropdown, extra field options will appear depending on the type of field.
Import JetEngine data into Media or Gallery fields
JetEngine media and gallery fields use Import WP’s attachment field type, allowing you to download attachments from either Remote URL’s, Local files, FTP server, or from the Media library.
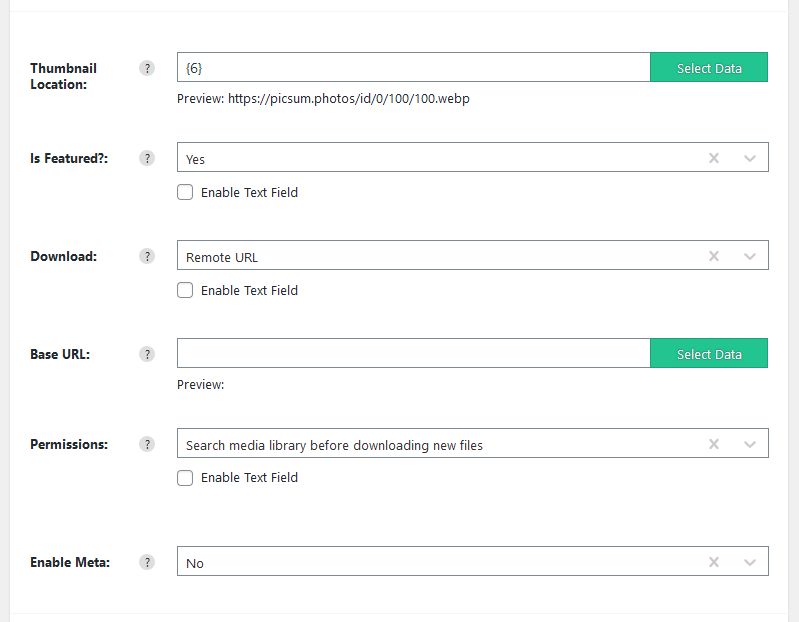
Importing multiple files into JetEngine gallery fields is done by separating each attachment source URL with comma delimiters.
Import content into JetEngine Repeater fields
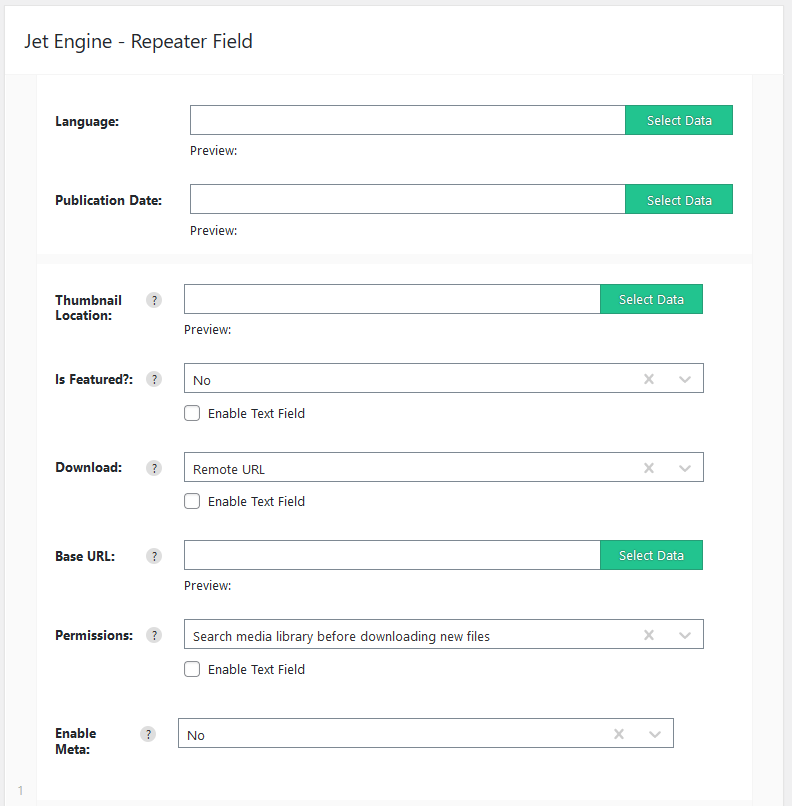
JetEngine repeater fields appear in their own sections on the Template fields step of the importer, each repeater field appears in its own section prefixed with “JetEngine – “.
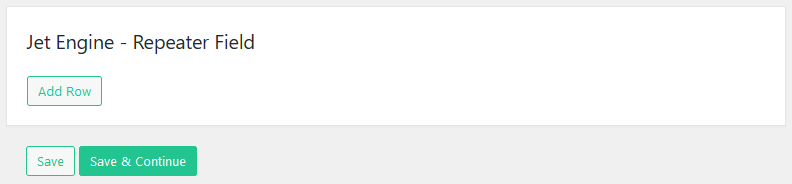
Clicking the Add Row button inserts a new list of fields, add as many rows as required, all fields can be populated the same as any other importer field.
Import JetEngine repeater field data using the XML repeater node
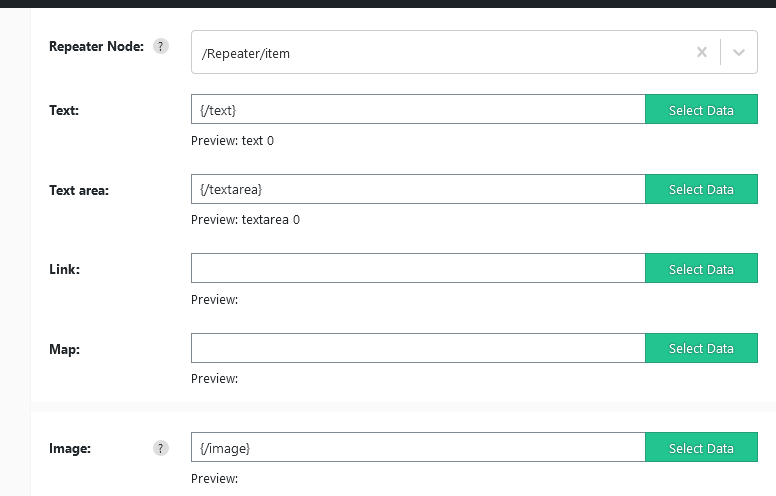
Importing XML files into repeater fields can be simplified depending on your XML schema. When importing from an XML file, a field labelled “Repeater Node” should appear at the top of each repeater field row.
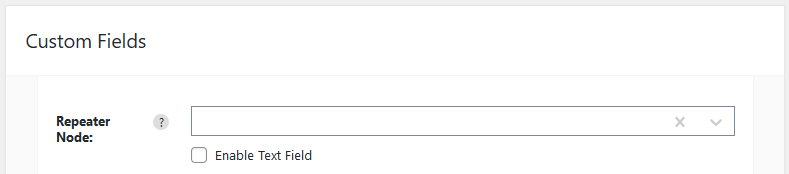
If you have an XML node with repeated child nodes containing your repeater field values as shown in the following image.
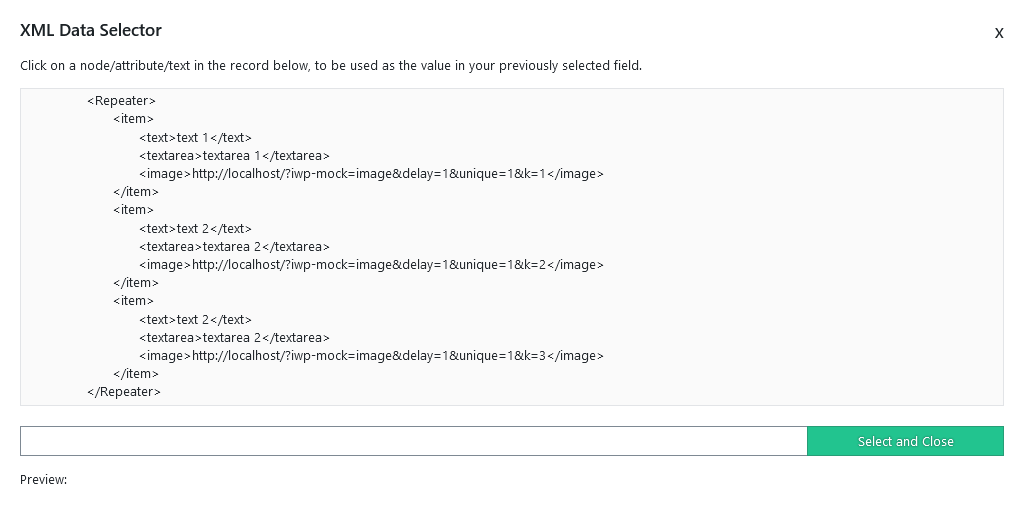
The Repeater node field if set allows you to loop through child nodes to insert multiple rows, stopping you from having to create and set each row’s fields. Using the previous XML schema as an example, setting the repeater node to “/Repeater/item” and then setting each field’s value as shown in the following image will populate the repeater field with the 3 example rows previously shown.