How to add an importer
To create a new importer, Via the ImportWP screen (Accessed under Tools > ImportWP), click on the Add New tab at the top of the screen. The import creator screen should load up showing initial fields to create the importer.
When creating and editing an importer if you are sure what any field does, if a ? tooltip is displayed beside the field label, hover over this to read a description of what it does.
Create Importer Fields
The create importer screen is a simple form created of two fields
| Options | Description |
|---|---|
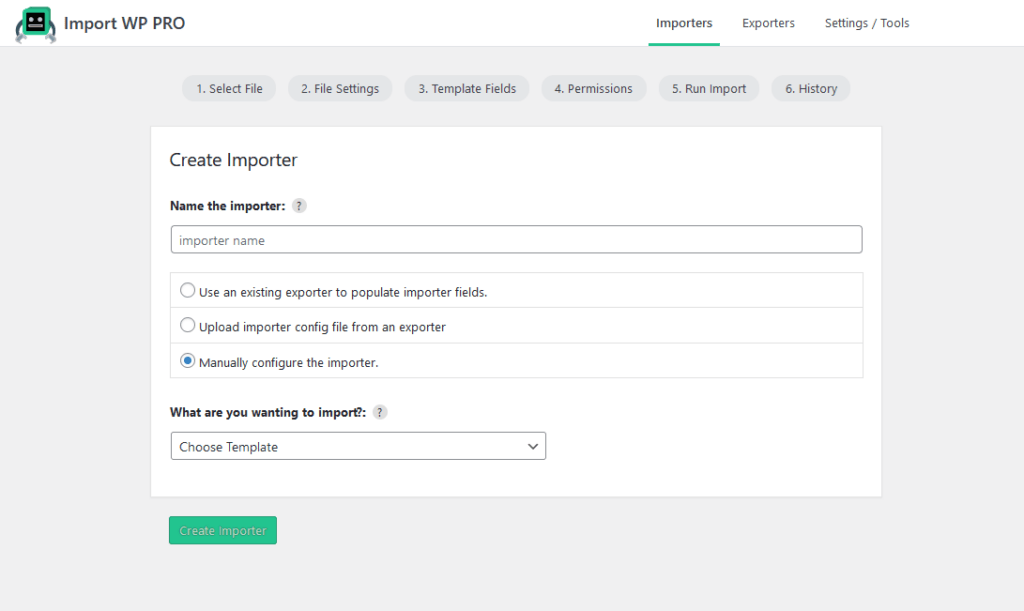
| Name the importer | Set a name so that you can find this importer on the importer archive screen. |
| Use an existing exporter to populate importer fields. | Choosing to use an existing exporter to populate importer fields will display an extra dropdown allowing you to choose the exporter, the current exporter config will then be used to attempt to pre populate importer template fields with data selectors. |
| Upload importer config file from an exporter | Choosing to uploaded an exporter config, will pre populate importer template fields from the selected exporter config that has been downloaded from the any website using ImportWP. |
| Manually configure the importer. | Choosing to manually configure the importer will not pre populate any template fields. |
| What are you wanting to import? | Choose what type of WordPress data you want to import, such as Posts, Pages, Users, and Taxonomy Terms. Once you have filled out all the required fields, click on the Create Importer button to finish creating the importer. If Successful you will be redirected to the next screen to setup the datasource to use your data file. |