How to Import WordPress Custom Fields
WordPress allows theme and plugin developers to extend core functionality by storing extra post, user and term data in custom fields or meta data. ImportWP Pro allows you to view existing custom field values and then populate them with new content from an XML or CSV file.
Table of Contents
Find existing custom fields
If you are unfamiliar with which custom fields are required when creating / updating WordPress posts, terms or users, we would recommend creating an example record in WordPress populating all parts of the record you wish to import, so that when you use the preview tool it is easy to locate the required custom fields.
The custom field preview tool is located on the template field step at the top of the custom fields panel.
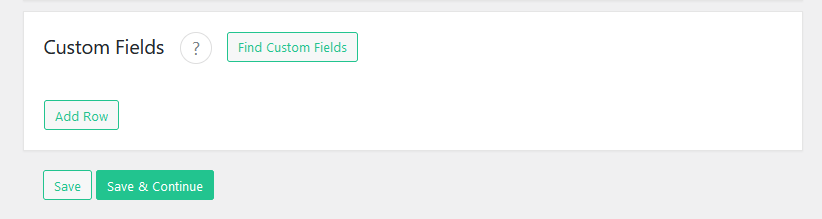
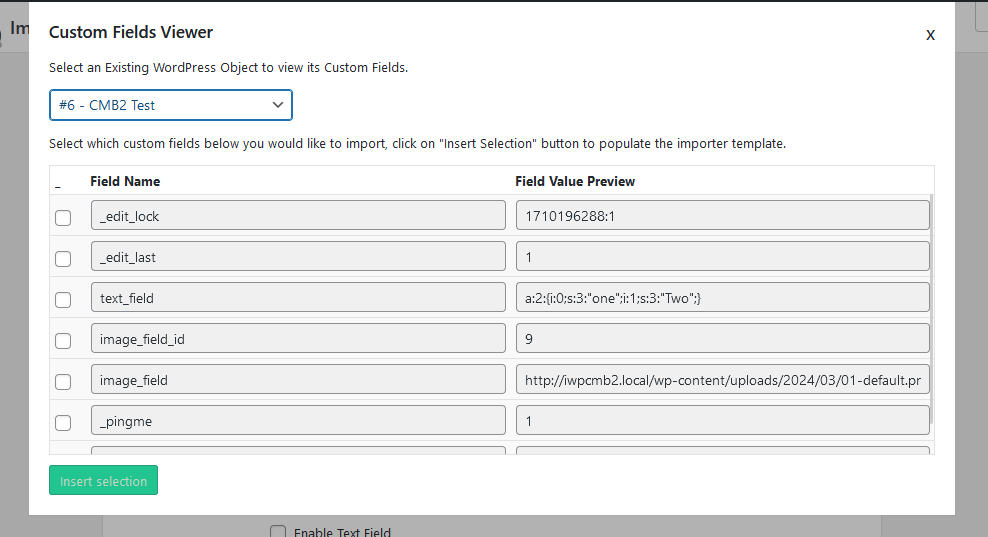
Clicking on the Find custom fields button will open up a modal where you can select an existing record from the type of records you are importing.

Upon selecting an existing record, its custom fields will be listed, with its current value. Using the checkbox to the left of each field, select as many as required, then click on insert selection to automatically populate your custom fields.
Import WordPress custom fields
ImportWP Pro gives you the ability to import from both XML and CSV files into custom fields from basic text to WordPress attachments when importing WordPress posts, pages, custom post types, and users.
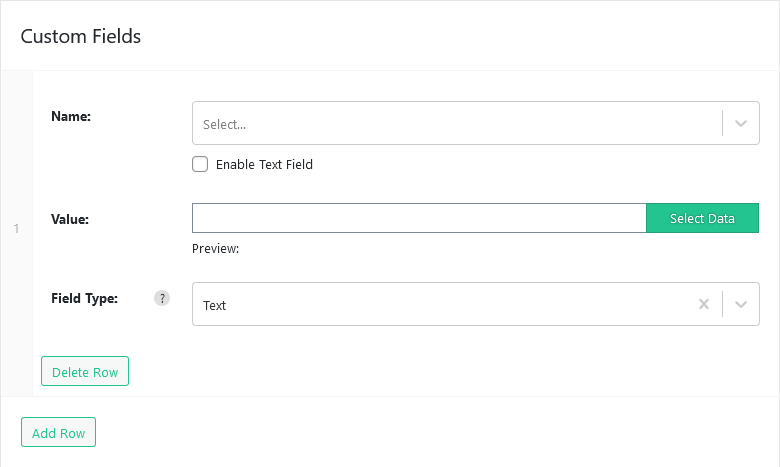
To add a new custom field click on the Add Row button at the bottom of the custom fields panel, this will insert a new row.
| Options | Description |
|---|---|
| Name | The name field allows you to select from a predefined list of custom fields, if you cant find the custom field you are looking for but you know what its key is, then this can be manually entered by checking the enable text field to switch the dropdown menu to an input field. |
| Value | The value field is the same as any other importer field, you can select which data should be set via the select data button, this will load up the xml or csv visual data selector tool. |
| Field type | The field type allows you to choose between the available custom field types. |
Text Field Type
This is the default custom field type, anything entered in the value field will be stored in the correct custom field table.
Attachment Field Type

The attachment field type allows you to insert and attachment as the custom field.
| Options | Description |
|---|---|
| Return value | The return type field allows you to choose what value should be returned from the attached file for example id, url, serialized id, or serialized url. |
A full list of what each attachment field does can be found here.
Serialized Field Type
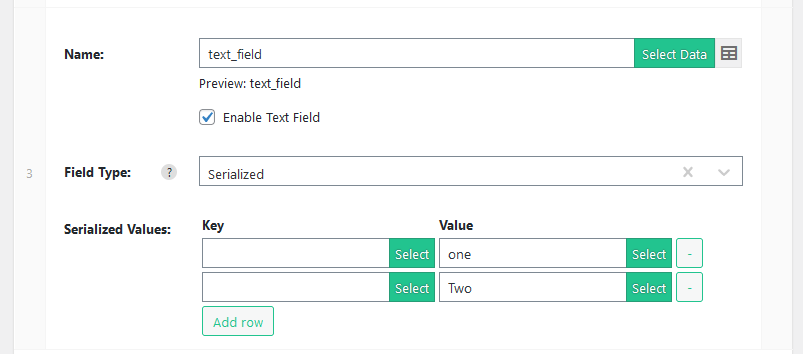
If you have used the custom field preview tool and come across that does not make much sense, as shown below for the field named text field. This is called data serialization and allows multiple values and value types to be stored as a single custom field.

If you have a very basic serialization value similar the custom field in the previous screenshot, that is either an array of values or an array of key value pairs then you can use the serialized values section to recreate and modify the values.
Serialize fields using Custom function
More complex serialized data can be imported using a custom functions, for example using the following serialized string as an example.
a:3:{s:5:"label";s:16:"Example Location";s:3:"lat";d:55.378100000000003;s:3:"lng";d:3.4359999999999999;}Using an online tool like https://www.unserialize.com allows you to paste in your serialized data and get it returned in a usable format, you can do this by setting the output to “var_export”, and pasting in the previous serialized data you should get the following out:
array (
    'label' => 'Example Location',
    'lat' => 55.378100000000003,
    'lng' => 3.4359999999999999
)
This can then be added to a custom function to import and modify the serialized data:
// usage: [custom_serialize("{0}","{3}","{2}")]
function custom_serialize($label = '', $lng = 0, $lat = 0){
    $output = array (
        'label' => $label,
        'lng' => $lng,
        'lat' => $lat
    );
    return serialize($output);
}